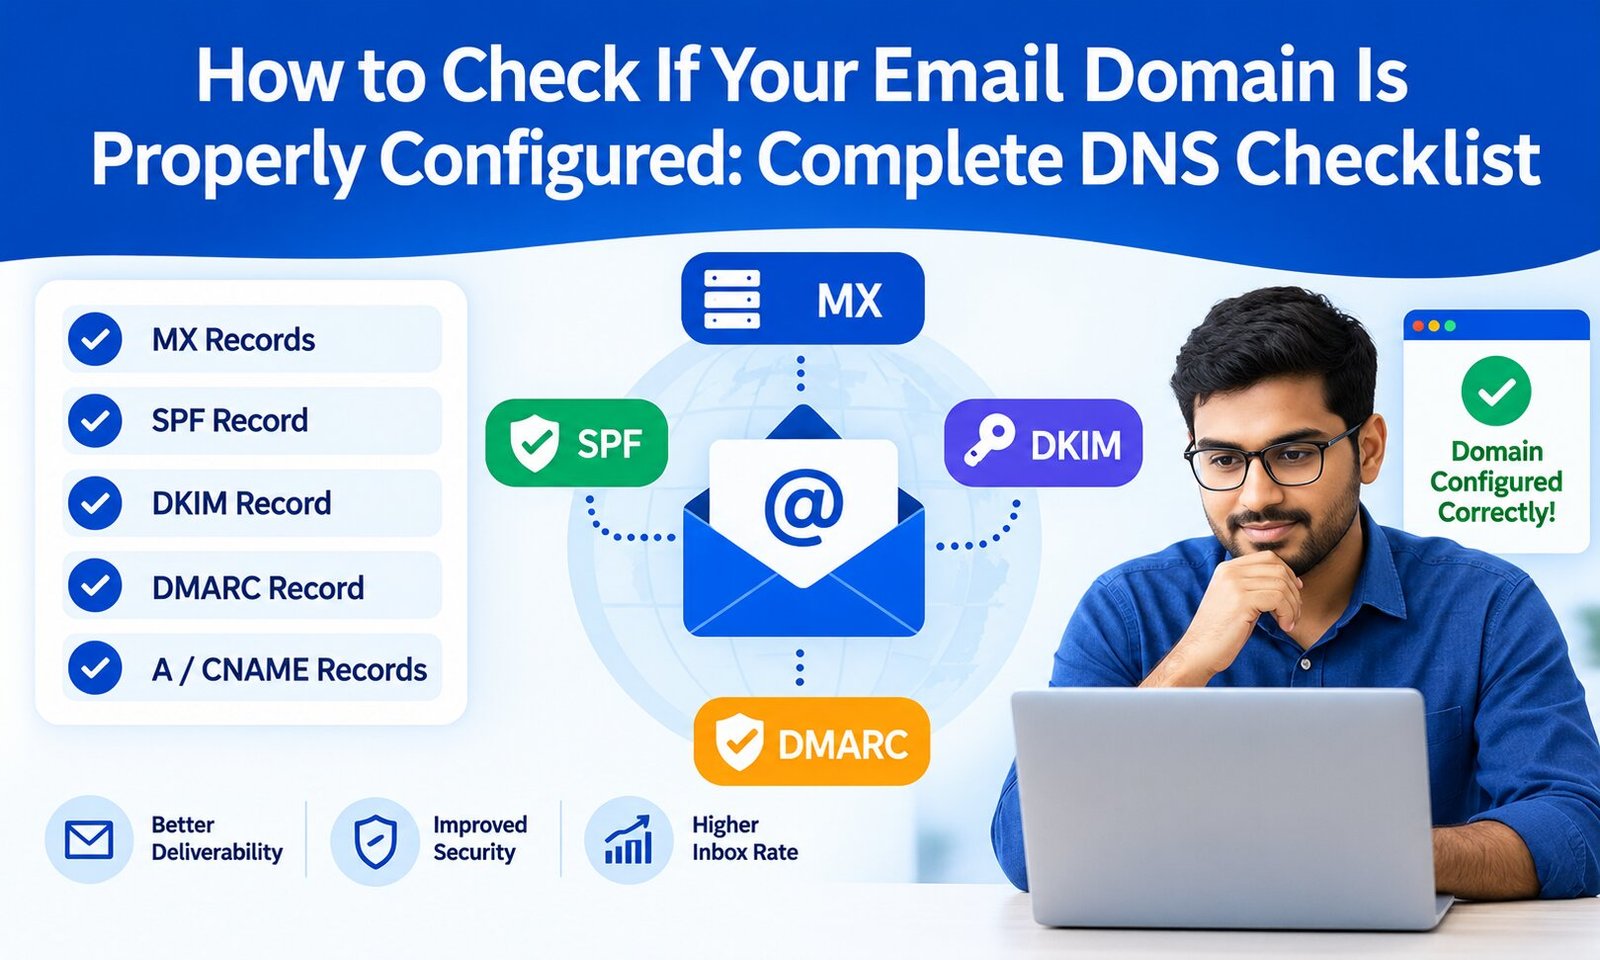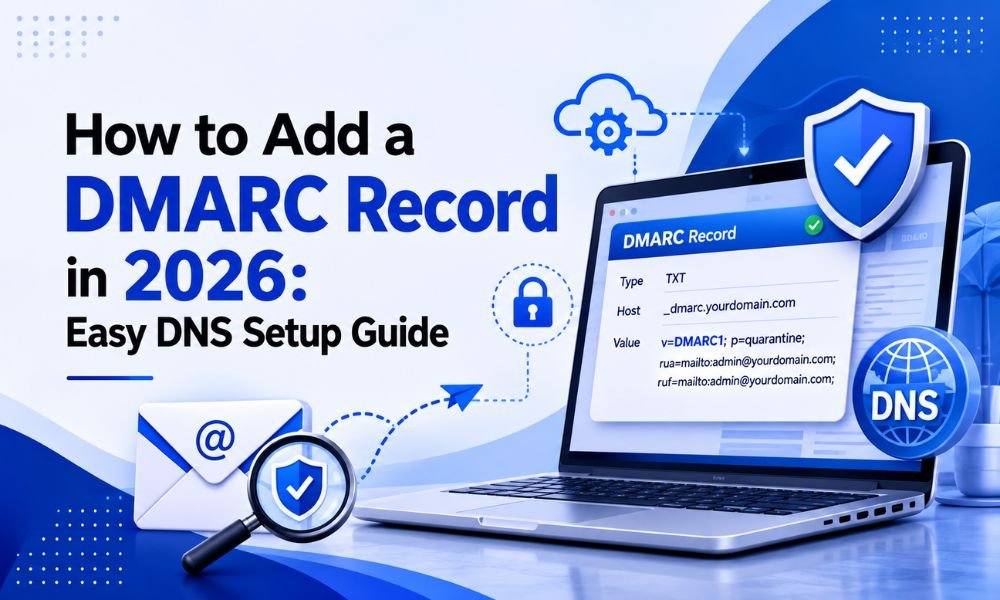
Email authentication is no longer something only large organizations need to worry about. If your business sends emails from a custom domain, setting up DMARC (Domain-based Message Authentication, Reporting, and Conformance) can help protect your domain from spoofing, phishing, and unauthorized email activity while improving trust with receiving mail servers.
For businesses sending more than 5,000 messages per day to personal Gmail accounts, Google requires SPF, DKIM, and DMARC authentication. Google currently allows the DMARC enforcement policy to remain at p=none, but enforcement against non-compliant bulk traffic has been increasing since November 2025.
This guide explains how to create and publish a DMARC record step by step, how to choose the right policy, and how to verify that your configuration works.
What Is a DMARC Record?
DMARC is an email authentication and policy mechanism that works alongside SPF and DKIM.
- SPF identifies which servers are authorized to send email for your domain.
- DKIM adds a cryptographic signature that helps receiving servers verify the message.
- DMARC checks whether the authenticated sending domain aligns with the domain shown in the visible
From:address and tells receiving servers how to handle messages that fail authentication.
A DMARC policy is published as a DNS TXT record under _dmarc. For example, if your domain is example.com, the record is published at _dmarc.example.com.
If you’re new to email authentication, it is also useful to understand the differences between SPF, DKIM, and DMARC before changing your DNS records.
Why Should You Set Up DMARC?
DMARC provides two major benefits: domain protection and email authentication visibility.
Without DMARC, attackers may be able to send messages that appear to come from your domain. A properly configured DMARC policy can instruct receiving mail systems to accept, quarantine, or reject messages that fail authentication.
DMARC also supports reporting. Aggregate reports can help you discover legitimate services sending email on behalf of your domain, authentication failures, and potential spoofing attempts.
Google recommends configuring DMARC reports so domain owners can monitor messages appearing to originate from their domains.
What You Need Before Creating a DMARC Record
Before publishing DMARC, make sure you know:
- Your sending domain.
- Every legitimate service that sends email using your domain.
- Whether SPF is correctly configured.
- Whether DKIM is enabled for your email providers.
- An email address or DMARC reporting service where aggregate reports can be analyzed.
This is particularly important if you use multiple platforms such as Google Workspace, Microsoft 365, WordPress, SendGrid, Mailgun, Amazon SES, CRM software, or marketing automation systems.
For bulk senders, Google requires both SPF and DKIM as well as DMARC. Google also requires the domain in the visible From: address to align with either the SPF or DKIM authenticated domain for direct messages to personal Gmail accounts.
Step 1: Log In to Your DNS Provider
Log in to the company where your domain’s DNS is managed.
Depending on your setup, this could be your domain registrar, hosting company, Cloudflare, or another DNS management provider.
Look for an option such as:
- DNS Management
- DNS Records
- Manage DNS
- Zone Editor
- DNS Settings
You do not normally add a DMARC record inside Gmail or your email marketing platform. DMARC is published in your domain’s DNS.
Step 2: Create a New TXT Record
Choose Add Record and select TXT as the record type.
For the hostname or name field, enter:
_dmarc
Some DNS providers automatically append your domain name. Others may require the complete hostname, such as:
_dmarc.example.com
Check your provider’s instructions if you are unsure.
The DMARC specification defines _dmarc as the DNS location used to publish DMARC policy records.
Step 3: Add a Basic DMARC Policy
If you’re setting up DMARC for the first time, a monitoring policy is usually the safest starting point.
Use a value similar to:
v=DMARC1; p=none; rua=mailto:dmarc@example.com
Replace dmarc@example.com with an address or reporting service that you control.
The three important components are:
v=DMARC1— identifies the record as a DMARC record.p=none— tells receiving systems to monitor DMARC failures without requesting quarantine or rejection.rua=mailto:— specifies where aggregate DMARC reports should be sent.
The RFC provides v=DMARC1; p=none with an aggregate reporting address as a standard example of a DMARC record.
Step 4: Save the DNS Record
Save the TXT record.
DNS changes are not necessarily visible everywhere immediately. Depending on your DNS provider and TTL settings, propagation may take some time.
Do not assume that a record is working simply because it has been saved in your DNS dashboard. Always verify it with a DNS lookup or DMARC testing tool.
Step 5: Verify Your DMARC Record
After DNS propagation, check the TXT record for:
_dmarc.yourdomain.com
You can use a DNS lookup tool or run a command such as:
dig TXT _dmarc.example.com
You should see a response containing something similar to:
v=DMARC1; p=none; rua=mailto:dmarc@example.com
If no record appears, check the hostname, record type, spelling, and whether your DNS provider automatically adds the domain name.
Also make sure you have only one DMARC record for the same domain. Multiple conflicting DMARC TXT records can cause DMARC evaluation problems.
Step 6: Monitor Your DMARC Reports
Publishing p=none is only the beginning.
Review your aggregate reports to identify:
- Authorized sending services
- Failed SPF authentication
- Failed DKIM authentication
- DMARC alignment problems
- Unknown sending IP addresses
- Possible spoofing attempts
This monitoring stage is important because legitimate email systems can be overlooked when a business uses several third-party platforms.
Google recommends using authentication monitoring and Postmaster Tools to help identify email delivery and authentication issues.
Step 7: Move From p=none to Stronger Protection
Once you have confirmed that legitimate email passes authentication, you can consider strengthening your DMARC policy.
The three common policies are:
p=none — Monitor failures without requesting enforcement.
p=quarantine — Ask receiving servers to treat failing messages as suspicious, often by placing them in spam or quarantine.
p=reject — Ask receiving servers to reject messages that fail DMARC.
A gradual approach is generally safer:
p=none → monitor → fix authentication issues → p=quarantine → monitor → p=reject
Do not immediately switch to p=reject if you have not identified every legitimate email source. A forgotten CRM, website form, newsletter platform, or transactional email service could suddenly have its messages rejected.
Common DMARC Setup Mistakes
One of the most common mistakes is publishing DMARC without properly configuring SPF and DKIM.
Another is creating the record at the wrong hostname. The DMARC record belongs under _dmarc, not simply at the root of the domain.
Other common problems include:
- Creating multiple DMARC TXT records
- Forgetting to include legitimate email services in SPF
- Not enabling DKIM with third-party providers
- Ignoring DMARC aggregate reports
- Enforcing
p=rejectbefore testing authentication - Using an invalid reporting address
- Failing to check SPF/DKIM alignment
- Assuming DNS changes are instant
Google specifically recommends that senders authenticate their domains with SPF and DKIM and use DMARC for bulk sending.
Does DMARC Improve Email Deliverability?
DMARC is not a magic solution that guarantees inbox placement. Deliverability also depends on sender reputation, spam complaints, authentication, message quality, sending practices, infrastructure, and recipient engagement.
However, proper authentication is an important part of a healthy email-sending setup. Google states that authenticated messages are less likely to be rejected or marked as spam and requires bulk senders to implement SPF, DKIM, and DMARC.
If your emails are still reaching spam after authentication is configured, review your broader email deliverability improvement strategies rather than relying on DMARC alone.
Final DMARC Setup Checklist
Before considering your configuration complete, verify that:
- Your DMARC record exists at
_dmarc.yourdomain.com. - The record is a TXT record.
v=DMARC1is present.- You have selected an appropriate DMARC policy.
- SPF is configured correctly.
- DKIM is enabled for legitimate sending services.
- Your visible
From:domain aligns with SPF or DKIM. - DMARC reports are being received and reviewed.
- All legitimate email platforms have been identified.
- You have tested the configuration before moving to enforcement.
Final Thoughts
Setting up a DMARC record is one of the most important steps a business can take to strengthen domain-level email authentication in 2026. The technical process is straightforward: create a TXT record at _dmarc, publish an appropriate policy, verify the DNS response, monitor authentication reports, and gradually strengthen enforcement.
For organizations sending substantial volumes of email to personal Gmail accounts, DMARC is especially important because Google’s current sender requirements include SPF, DKIM, and DMARC for bulk senders, with enforcement continuing to affect non-compliant traffic.
The best approach is to treat DMARC as an ongoing authentication and monitoring process—not a one-time DNS change. Start with visibility, identify every legitimate sender, fix alignment problems, and then move toward stronger enforcement once you know your email infrastructure is ready.